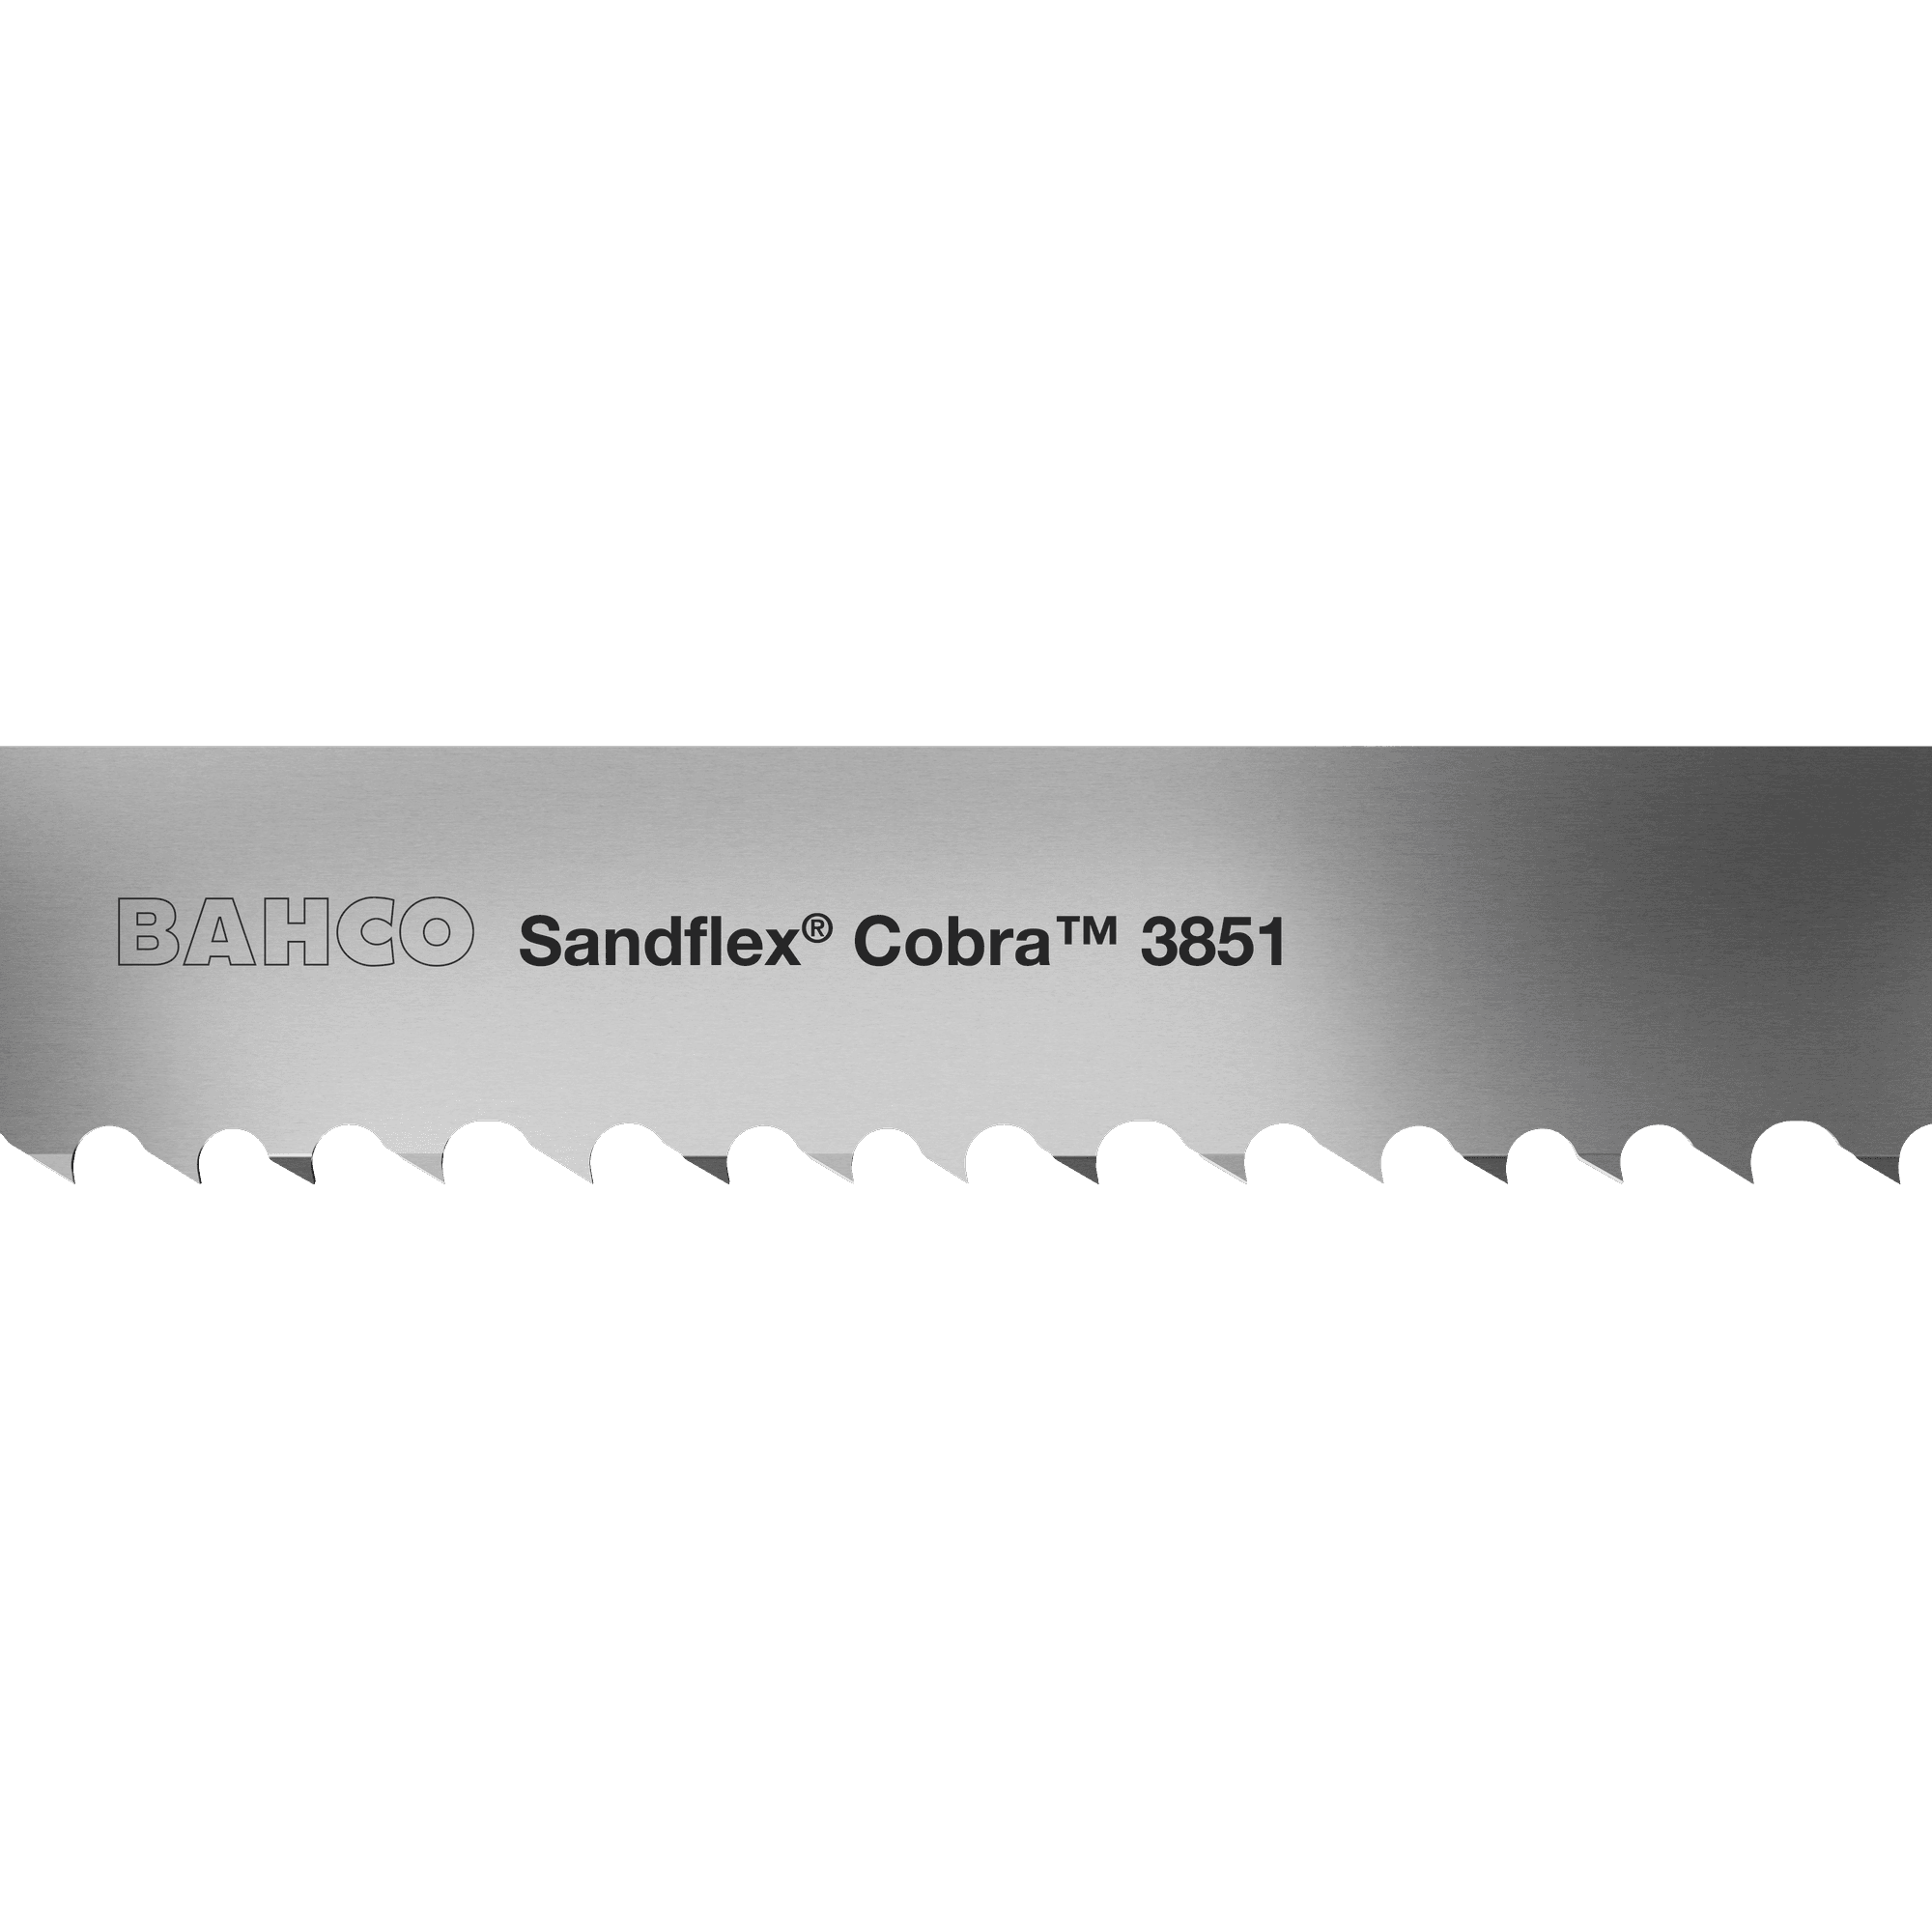
Breaking in a new bandsaw blade, why and how
A razor-fresh bandsaw blade micro-chips under full feed. A short break-in at reduced feed hones the edge instead and repays itself in blade life.
The Bandsaw Store team
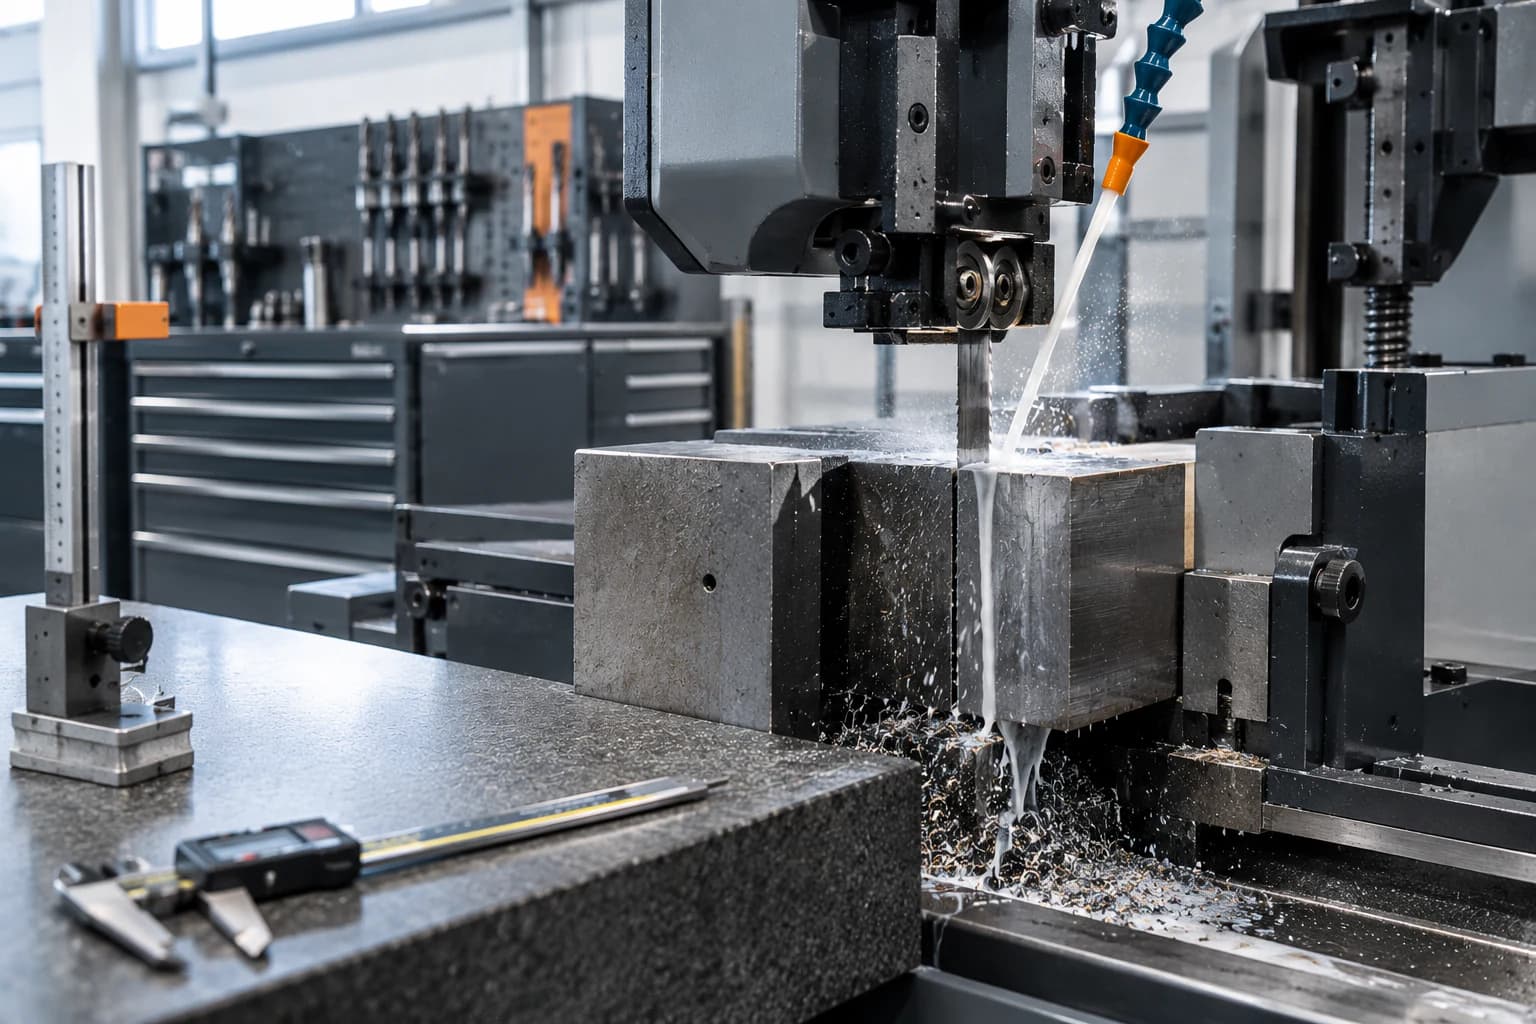
A new bandsaw blade should not go straight into full-rate cutting. The freshly ground tooth edge is so keen that full feed pressure micro-chips it, and a chipped edge dulls in a fraction of its potential life. Breaking in means running roughly half your normal feed for the first cuts, then easing up to full rate. Ten or fifteen minutes of patience routinely buys a substantial slice of extra blade life.
Why a razor-fresh edge is fragile
Straight off the grinder, each tooth carries an extremely fine, sharp edge. Under the microscope that edge is a thin ridge of steel or carbide with almost no material behind its very tip. Load it with full feed pressure from the first cut and the tip does not wear down gradually: it fractures away in microscopic chips, leaving a ragged, weakened edge that then wears fast for the rest of the blade's life.
Run the same tooth gently instead and something better happens. Light cutting pressure hones the tip, rounding that fragile ridge into a slightly stronger, polished edge geometry that resists chipping under full load. The metallurgy is ordinary and the effect is real: the difference between a broken-in edge and a chipped one shows up directly in how many cuts the band delivers before replacement. This is general workshop practice across blade types, and it applies with extra force to premium edges, where there is more blade life to protect. The teeth on a bi-metal blade are high speed steel and respond well to it; carbide tips, being harder and more brittle, need it even more.
The procedure
Break-in is not complicated. Keep your normal band speed for the material, cut the feed rate and let the first period of cutting hone the edge. As general guidance, not a manufacturer's specification:
| Step | Do | Do not |
|---|---|---|
| 1. Set up | Fit the blade, set tension and guides properly, run your normal band speed for the material | Do not lower the band speed; break-in is about feed pressure, not speed |
| 2. First cuts | Feed at roughly half your normal rate and let the saw make thin, steady chips | Do not force the cut or let the blade rub without cutting |
| 3. Watch the cut | Listen for smooth, even cutting and check chips are forming, not dust | Do not ignore squealing or vibration; ease off if it appears |
| 4. Ease up | Increase the feed gradually over the initial period of cutting, in steps, back to full rate | Do not jump straight from half feed to full feed in one move |
| 5. Run normally | Resume production settings once the blade sounds and cuts consistently | Do not keep babying the blade for days; a honed edge wants proper feed |
How long is the initial period? It depends on the material and the size of the cuts, which is why manufacturers phrase it in terms of an area of material cut rather than the clock. A practical rule for a general workshop: the first several complete cuts through solid section, or the first quarter hour or so of steady cutting, done at reduced feed and stepped back up gradually. Bigger sections and harder materials sit at the long end of that.
Where break-in matters most
The harder the material and the dearer the edge, the more break-in pays. On mild steel with a general-purpose band, skipping break-in costs you blade life you might not notice week to week. On the materials below it costs you visibly and quickly.
Work-hardening materials head the list. On stainless steel a micro-chipped tooth stops biting and starts rubbing, and rubbing is exactly what hardens the workpiece surface against the next tooth. A blade damaged in its first cuts on stainless can be effectively finished within the hour. Harder alloy and tool steels are similar: high tooth-tip loads meet an edge with no reserve behind it.
Carbide-tipped blades are the other headline case. Carbide's hardness comes with brittleness, and the brazed tips on a carbide blade cost real money. The guidance on carbide is consistent across the industry: break the blade in gently before running at full feed.
Where does it matter least? Soft, clean and forgiving materials: general timber on a carbon blade, thin non-ferrous sections, light contour work. Ease into the first couple of cuts and get on with the job.
What skipping it costs
The cost is mostly invisible, which is why the step gets skipped. The blade still cuts on day one; it simply arrives at dull weeks early. Typical symptoms of a skipped break-in are a band that never seems to have had its best period, early wander and out-of-square cuts as damaged teeth on one side of the set do less work than the other, harder feeding for the same cut rate and in the worst cases stripped teeth where chips grew into cracks.
There is a second-order cost too. A prematurely dull blade invites the operator to push feed to compensate, which overloads the remaining edge and shortens life further. That spiral (dull blade, heavier feed, duller blade) is behind a good share of the failures we discuss in why bandsaw blades break.
Fifteen minutes against weeks of blade life is not a difficult trade. Fit the blade properly, halve the feed, step it back up gradually and then run it at the settings the material deserves. If you are unsure what those settings are, our speed and feed guide is the companion piece to this one.
The Bandsaw Store team
Technical points follow general engineering practice and the manufacturers' published ranges. If a question is not answered here, ask us directly.